Capturing the perfect moment can feel like an Olympic sport, especially when you’re trying to squeeze everyone into a selfie. Luckily, the iPhone camera comes equipped with a timer feature that turns you into a photography pro, minus the expensive gear and awkward poses. Whether it’s a family gathering or a solo adventure, the timer lets you snap the shot without the mad dash back to the group.
Understanding the Timer Feature
The iPhone camera’s timer feature enhances photography by allowing users to set a delay before capturing a photo. This function is particularly useful for candid shots and group photos.
What Is the Timer Function?
The timer function enables users to select a specific delay, typically 3 or 10 seconds, before the shutter releases. It provides a seamless way to include everyone in the moment. Users can easily activate this feature through the camera app, ensuring no one is left out of the picture.
Why Use the Timer?
Using the timer increases creativity in photography. It allows individuals to compose the scene before the photo is taken. With the timer, users can set up their shots without rushing back into position, while dynamic angles or action shots become more feasible. In addition, this feature is essential for overcoming challenges in solo shooting or group setups.
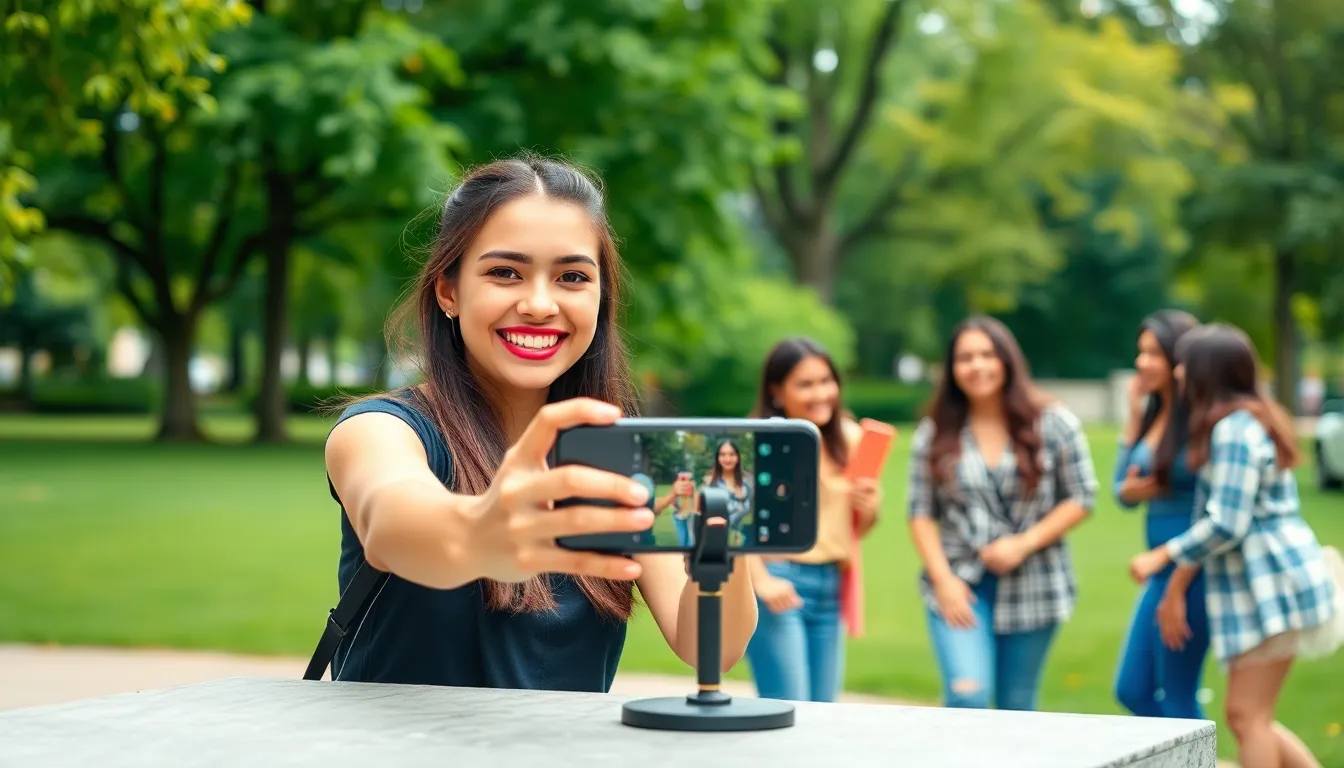
How to Set Up the Timer on iPhone Camera

Setting up the timer on the iPhone camera is simple. This feature enhances group selfies and allows users to capture spontaneous moments without rush.
Accessing the Camera App
Open the Camera app by tapping its icon on the home screen. The interface appears immediately, showcasing various options. Switching to Photo mode is essential, as it’s the mode that supports the timer feature. Look for the timer icon, usually located at the top of the screen. Tapping this icon reveals the timer settings. Users can then select their desired duration for the timer. Understanding this step ensures a smooth process when capturing memories.
Choosing the Timer Duration
Selecting the timer duration is straightforward. Users see options typically ranging from 3 seconds to 10 seconds. After tapping the timer icon, a menu appears listing these choices. For group shots, a 10-second delay allows individuals to settle in place. A 3-second delay works well for quick selfies, as it minimizes waiting time. Making the right selection enhances the shot’s quality and composition. Consider the scene and the number of participants when deciding the perfect duration. This attention to detail ensures that everyone fits in the frame without difficulty.
Tips for Using the Timer Effectively
Using the timer feature on an iPhone camera enhances photo opportunities. It streamlines the process of taking well-composed pictures while allowing users to focus on creativity.
Best Practices for Self-Taking Photos
Choose a stable surface or tripod to set the iPhone on. Position the camera at eye level to create flattering angles. Set a countdown timer, selecting 10 seconds for group photos, as it provides ample time to get into position. Always frame the shot before activating the timer. Ensure good lighting to improve photo quality. For selfies, stand a few steps back from the camera to capture more background. Enlist friends to assist if necessary, making adjustments easier and increasing engagement.
Creative Uses of the Timer Feature
Explore various photography styles by experimenting with the timer. Capture action shots, like jumping or running, allowing time to create dynamic images. For long exposure effects, set the timer and move the phone during capture. Utilize the timer for group photos in unique settings, like on the beach or at landmarks. Capturing candid moments becomes simple; activate the timer and join friends in spontaneous poses. Experiment with different timer lengths for various scenarios to enhance creativity and versatility in photography.
Troubleshooting Common Issues
Addressing common issues can enhance the user experience when using the iPhone camera timer feature. Understanding these problems ensures users capture great photos without frustration.
Timer Not Functioning
If the timer doesn’t function, first check if the Camera app is updated to the latest version. Restarting the app can often resolve minor glitches. Users should also ensure that the timer is correctly set by tapping the timer icon and selecting a duration. It’s crucial to verify settings, as the timer may not activate if the camera is in a different mode or if the phone is in low power mode. Additionally, closing other apps running in the background can help improve performance. If all else fails, restarting the device often clears issues.
Camera App Freezes
Freezing issues with the Camera app might indicate a software conflict. Users can address this by force quitting the app and reopening it. If problems continue, checking for software updates is vital. Upgrading to the latest iOS can resolve underlying bugs affecting the camera performance. Clearing storage space on the device can also alleviate pressure on the app. Ensuring adequate free space helps the Camera app run smoothly. In persistent cases, restoring the device to factory settings works as a last resort for problematic behavior.
Conclusion
Mastering the timer feature on the iPhone camera can transform the way users capture their moments. By allowing for thoughtful composition and ensuring everyone’s included in group shots, it elevates the photography experience. Whether it’s a family gathering or a solo adventure, the timer provides the flexibility needed to create stunning images without the usual rush.
With simple steps to set up the timer and tips for effective use, anyone can enhance their photography skills. Embracing this feature not only improves photo quality but also opens up creative possibilities. Users are encouraged to experiment with different settings and techniques to make the most of their iPhone camera.